系统centos7.6
glibc版本 2.36
下载地址http://ftp.gnu.org/gnu/libc/
官网:https://www.gnu.org/software/libc/libc.html
注意:centos7编译升级glibc最好先升级GCC和make,否则可能导致系统出错
然而最需要注意的是,报错了就不要强行make install
一、准备工作
首先下载glibc,如果速度慢可以选择国内其他镜像源
[root@VM-0-3-centos ~]# wget http://ftp.gnu.org/gnu/libc/glibc-2.36.tar.gz
解压缩
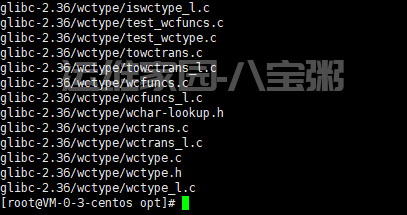
[root@VM-0-3-centos opt]# tar -zxvf glibc-2.36.tar.gz
二、编译安装
[root@VM-0-3-centos opt]# cd glibc-2.36/
[root@VM-0-3-centos glibc-2.36]# mkdir build
[root@VM-0-3-centos glibc-2.36]# cd build
[root@VM-0-3-centos build]#
[root@VM-0-3-centos build]#mkdir /usr/local/glibc2.36
[root@VM-0-3-centos build]# ../configure --prefix=/usr --disable-profile --enable-add-ons --with-headers=/usr/include --with-binutils=/usr/bin --disable-sanity-checks --disable-werror
[root@VM-0-3-centos build]#make
[root@VM-0-3-centos build]#make install
虽然有报错,但还是安装成功了
编译时出的错误
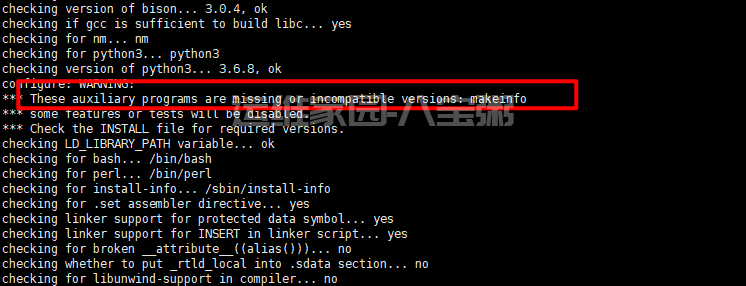
说我的make和bison缺少或者太老了于是yum安装了bison
[root@VM-0-3-centos build]# yum -y install bison
但是make已经是4.3的了,于是我先卸载了yum安装的make
[root@VM-0-3-centos build]# yum -y remove make
然后又报找不到make,所以我就赌一把
[root@VM-0-3-centos build]# ../configure --disable-sanity-checks
但是失败了
后来发现是makeinfo报警
于是安装texinfo
[root@VM-0-3-centos build]yum -y install texinfo
1.源码编译升级gcc9.3.0
1)编译升级gcc
wget
cp gcc-9.3.0.tar.gz /optcd /opt
tar -zxf gcc-9.3.0.tar.gz
cd gcc-9.3.0/
./contrib/download_prerequisites
#建议先手动下载依赖的这四个包,下载地址
cat /proc/cpuinfo| grep "processor"| wc -l
mkdir buildcd build
../configure --enable-checking=release --enable-language=c,c++ --disable-multilib --prefix=/usr
make -j6
make install
2)升级成功后gcc版本检查
cd /usr/lib64ll libstdc++*
gcc -v
gcc --version
2.源码编译升级make
1)编译升级make
wget
cp make-4.3.tar.gz /optcd /opt/
tar -zxf make-4.3.tar.gzcd make-4.3/
mkdir build
cd build
../configure --prefix=/usr
&& make && make install
2)检查升级后的make版本信息
make -v
3、升级glibc-2.31
cd /opt
wget
tar -zxf glibc-2.31.tar.gzcd glibc-2.31/
cat INSTALL | grep -E "newer|later"
mkdir build
cd build
../configure  --prefix=/usr --disable-profile --enable-add-ons --with-headers=/usr/include --with-binutils=/usr/bin --disable-sanity-checks --disable-werror
yum install python3 #一定要有这一步,python2安装会报错的
make -j6
make install
make localedata/install-locales
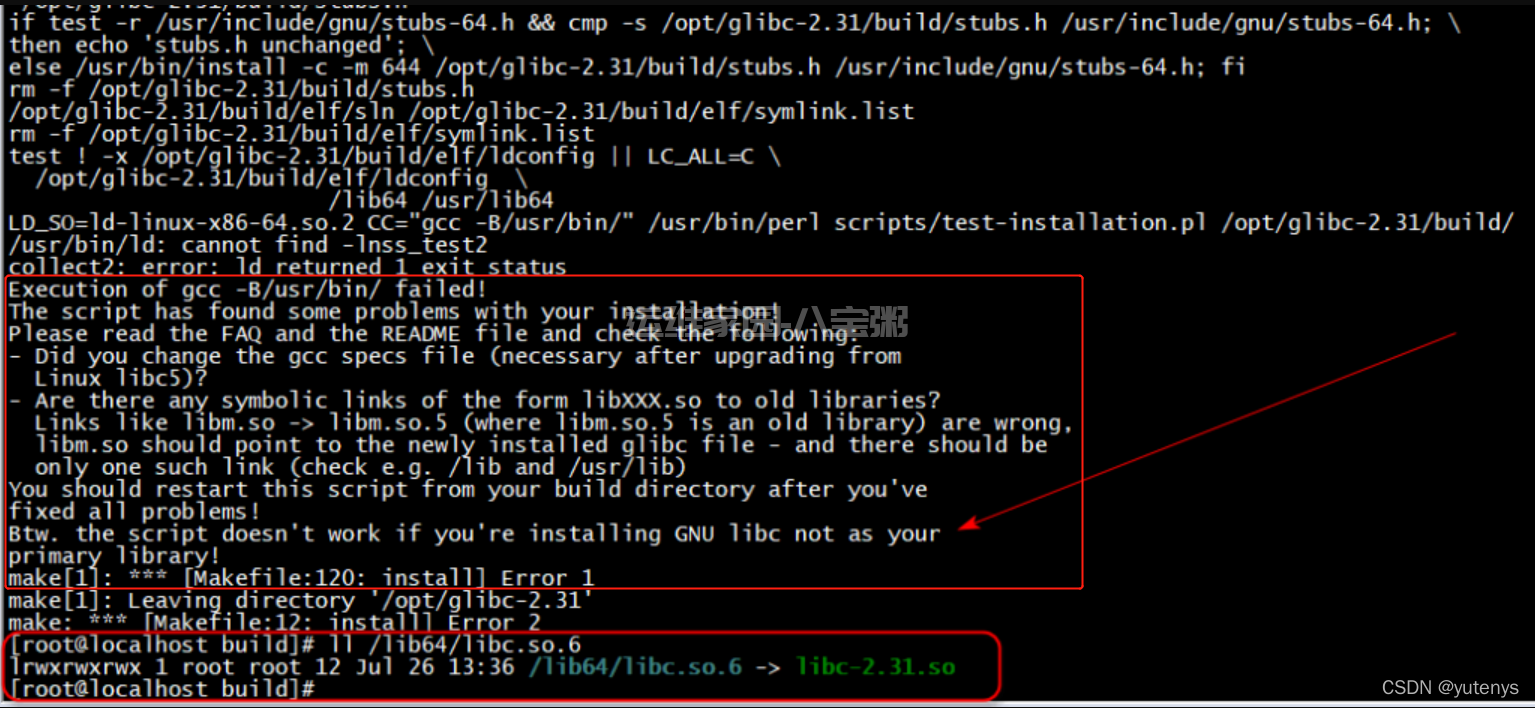
最后升级完成后的页面,会有一个error,可以忽略,如下:
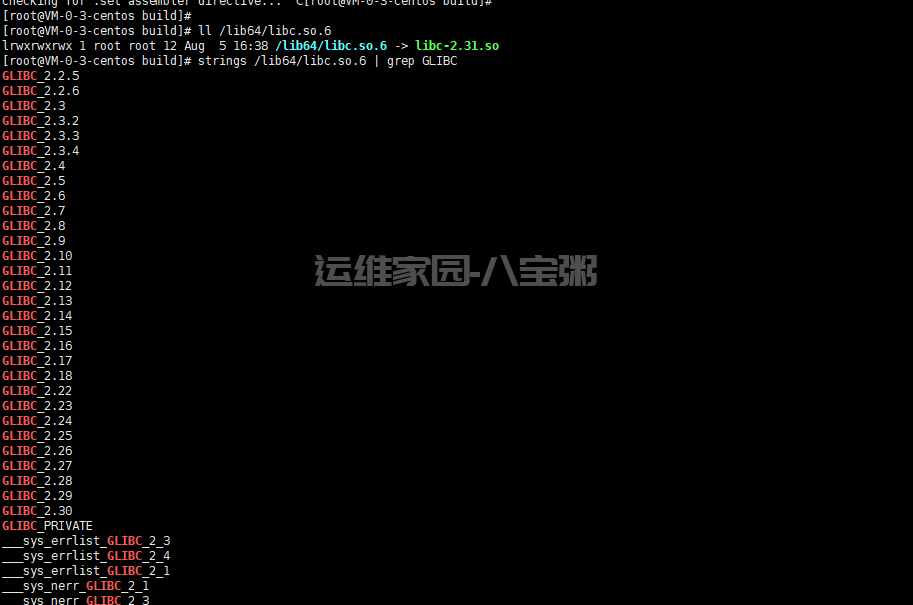
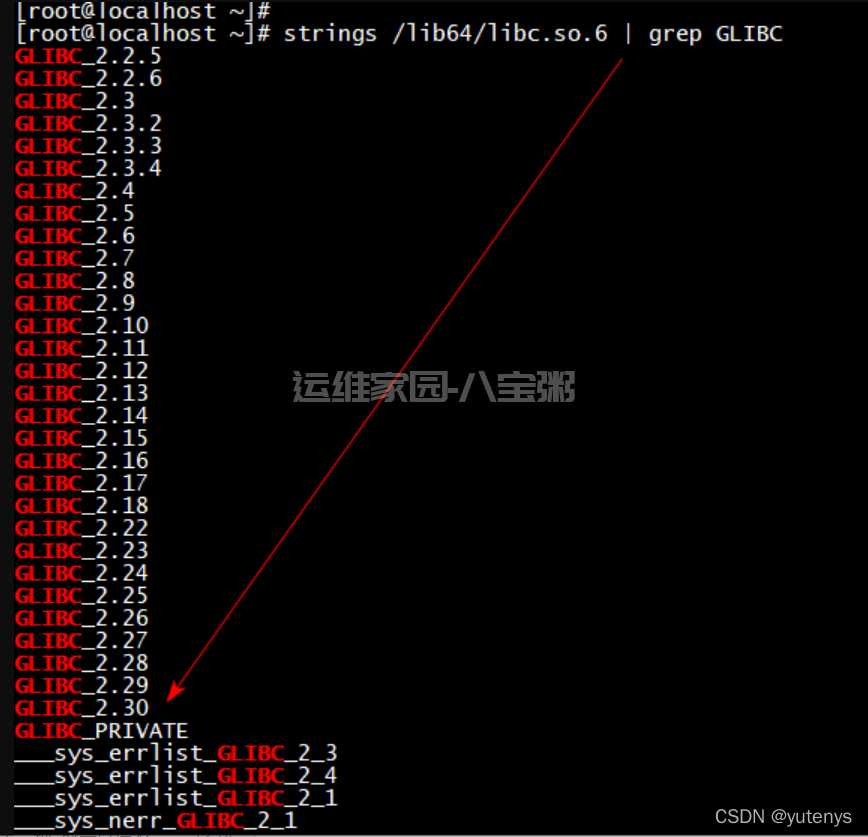
最后验证升级后的glibc版本
strings /lib64/libc.so.6 | grep GLIBCll /lib64/libc.so*
至此,gcc和glibc升级完成!








发表评论