- 关闭防火墙和selinux
systemctl disable --now firewalld
sed -i s/SELINUX=enforcing/SELINUX=disabled/g /etc/selinux/config
重启一下服务器
- 安装nginx和mysql
yum -y install nginx &&yum -y install mysql-server
设置nginx和mysql开机启动
systemctl enable --now nginx.service &&systemctl enable --now mysqld
- 配置mysql
[root@oracletest ~]# mysql_secure_installation
secure enough. Would you like to setup VALIDATE PASSWORD component?
Press y|Y for Yes, any other key for No: y
Please enter 0 = LOW, 1 = MEDIUM and 2 = STRONG: 0
Please set the password for root here.
New password:
Re-enter new password:
Do you wish to continue with the password provided?(Press y|Y for Yes, any other key for No) : y
Remove anonymous users? (Press y|Y for Yes, any other key for No) : y
Disallow root login remotely? (Press y|Y for Yes, any other key for No) : n
剩下的一路选Y就行
- 设置zabbix软件仓库
rpm -Uvh https://repo.zabbix.com/zabbix/7.0/oracle/8/x86_64/zabbix-release-latest-7.0.el8.noarch.rpm
- 设置php版本
dnf module switch-to php:8.2 -y
- 安装zabbix服务端,前端和客户端
dnf install zabbix-server-mysql zabbix-web-mysql zabbix-nginx-conf zabbix-sql-scripts zabbix-selinux-policy zabbix-agent2
- 安装zabbix插件
dnf install zabbix-agent2-plugin-mongodb zabbix-agent2-plugin-mssql zabbix-agent2-plugin-postgresql
- 创建初始数据库
[root@oracletest ~]# mysql -uroot -p
Enter password:
mysql> create database zabbix character set utf8mb4 collate utf8mb4_bin;
mysql> create user zabbix@localhost identified by '1076128880';
mysql> grant all privileges on zabbix.* to zabbix@localhost;
mysql> set global log_bin_trust_function_creators = 1;
mysql> quit;
- 导入初始架构和数据,根据提示,输入数据库密码
zcat /usr/share/zabbix-sql-scripts/mysql/server.sql.gz | mysql --default-character-set=utf8mb4 -uzabbix -p zabbix
- 关闭log_bin_trust_function_creators
# mysql -uroot -p
password
mysql> set global log_bin_trust_function_creators = 0;
mysql> quit;
十一、为Zabbix server配置数据库
[root@oracletest ~]# vim /etc/zabbix/zabbix_server.conf
### Option: DBPassword
# Database password.
# Comment this line if no password is used.
#
# Mandatory: no
# Default:
DBPassword=1076128880
十二、配置nginx
[root@oracletest ~]# vim /etc/nginx/conf.d/zabbix.conf
把第二行的注释删掉
listen 8080;
重启nginx服务
[root@oracletest ~]# systemctl restart nginx
十三、启动zabbix服务
[root@oracletest ~]# systemctl restart zabbix-server zabbix-agent2 nginx php-fpm
[root@oracletest ~]# systemctl enable zabbix-server zabbix-agent2 nginx php-fpm
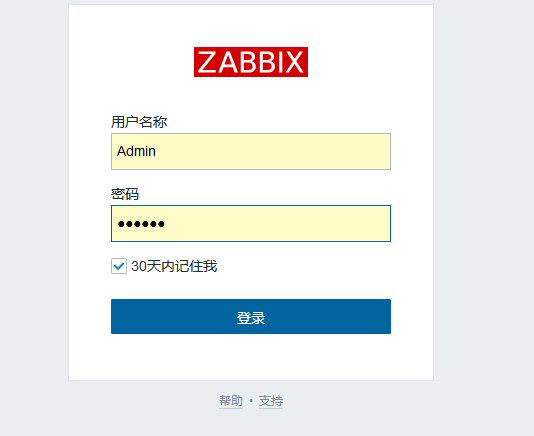
然后就可以登录zabbix前端了
IP:8080端口
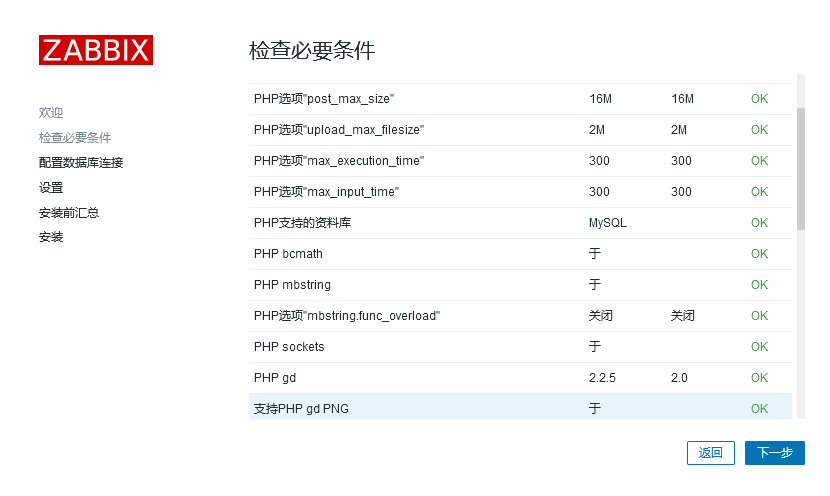
设置zabbix前端

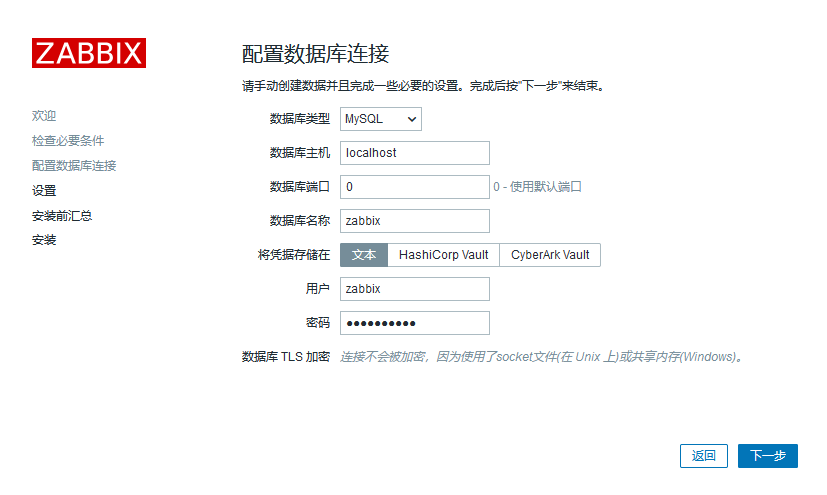
下一步
输入数据库密码
设置时区
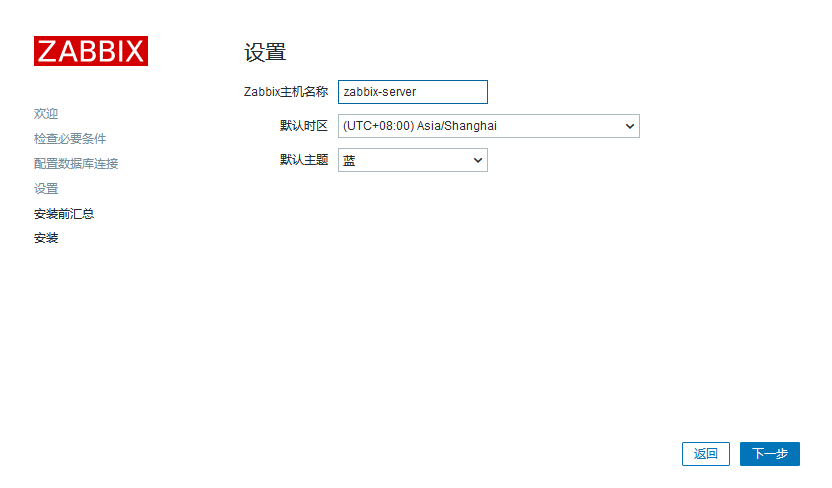
确认一下
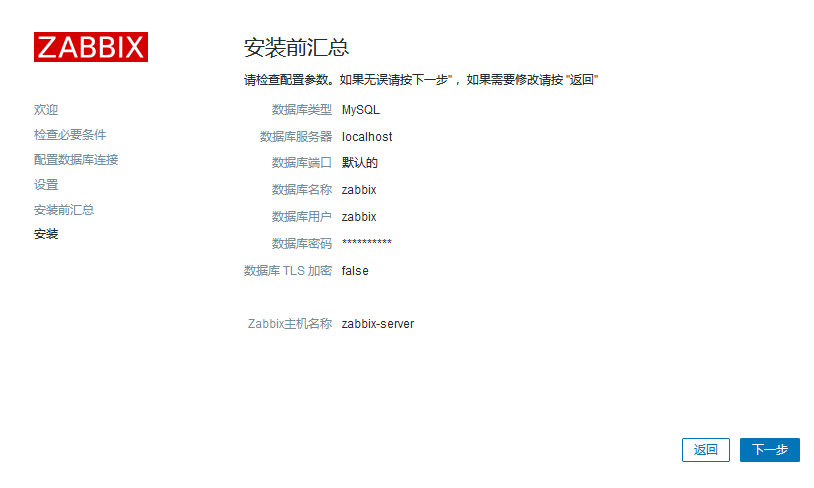
配置完成,开始访问

默认用户名Admin密码zabbix